How to Winterize Your RV

Heather
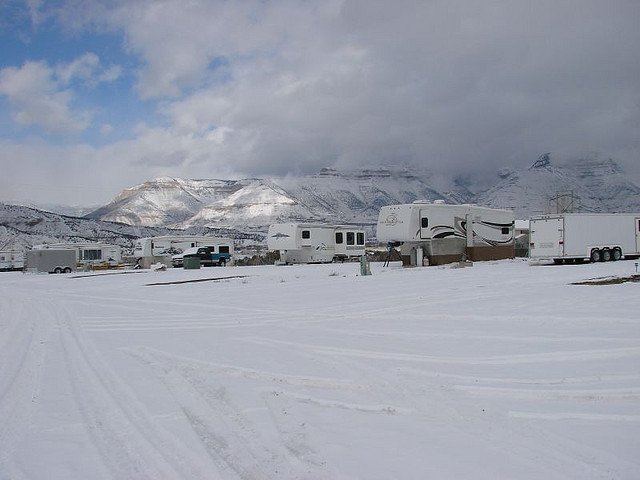
Winterize your RV to save time, money and headaches
Unless you’re lucky enough to be an RV owner who lives (and overwinters their RV) in a climate where the temperatures never drop below freezing, you’re going to need to plan to winterize your RV to make sure you don’t end up with broken pipes and water damage in your RV.
We promise you that it’s far easier and cheaper to winterize your RV than it would be to repair the plumbing system and any water damage caused by frozen pipes, so don’t neglect this essential task before the cold weather hits!
Step by step: how to winterize your RV
Step 1: Drain & Flush the Holding Tank
At a sanitary dump station, drain all the water from the grey, black and fresh water holding tank/s, then flush the tank/s.
Step 2: Drain the Water Heater
Remove the water from the water heater (look for a drain located on the bottom of the heater and remove it to drain the water). Once the water heater is emptied, reinstall the plug.
Step 3 : Hook Up Your Compressor
Hook a blowout plug to your RV’s city water inlet (you can get a blowout plug from most RV parts stores) and hook the other end of the plug up to your air compressor. Using your air compressor, start blowing air into the system at around 20 pounds per square inch (psi) or less (some people say you can go up to 50 psi, so use your discretion here, but be aware that too much pressure can damage your water lines).
Step 4 : Blow Pressurized Air Into Your Water Lines
As the air is going from the compressor into your water lines, open up each water valve—one at a time not all at once—until all the water is blown out of each line. Do this for all hot and cold water lines (faucets and showers, inside and outside). Also, flush each toilet. Once the water has been blown out of each line, turn off the compressor and take off the blowout plug. If you think there is still pressurized air in the lines, simply turn on a faucet to release the pressure.
Step 5: Put RV Antifreeze Into Your Lines
Now it is time to pump antifreeze into your lines. This ensures that any water left in the lines will not collect, freeze and cause your lines to burst.
There are a few different ways to get antifreeze into your water lines. The easiest method (in our opinion) is to buy a valve that allows your pump to draw the antifreeze straight from the antifreeze bottle into your system. You can get these at an RV parts store.
Depending on the type of RV you have, you may need anywhere from a few gallons of antifreeze to a couple dozen gallons. As you pump the antifreeze into your system, open the faucets one at a time to see if antifreeze comes out. Also, don’t forget to flush your toilet/s! Once antifreeze comes out of the faucets, you’ll know it is in the system thoroughly. To finish, pour a cup of antifreeze down the drains and also pour a cup or two into the toilet and flush it.
Now your system’s lines should be protected from the cold and your RV’s water system is winterized!
Done Winterizing Your RV’s Water System? What’s Left?
Want to protect the rest of your RV from the harsh winter elements? Finish winterizing your RV by covering with one of our RV covers! Yep, we’ve also got the best prices and highest quality RV covers—guaranteed.
If you mention this blog post when you call us (1-800-925-8602) or instant chat us with your order, we’ll happily offer you an additional 10% off!